
Y’all. I fell into blogging never-land. Again. I didn’t mean to, but it just sort of happened. And, sometimes when it happens like that it somehow becomes habit NOT to blog. But, I do miss it. I find myself formulating blog posts in my head and what I need to do is getting them done here instead. So, let’s see if I can dust off this ole blog of mine and keep on track a little bit better.
The last time I blogged was in April. What has happened since then? One of the biggest things that happened was that we did some renovating of our main level.
In April, we started the renovation process. Some of it was DIY and some was done by contractors. One of the first things we did was rip out all of the old carpeting. We did this ourselves and while it was one heck of a monster job we saved a lot in tear out costs, so it was worthwhile.
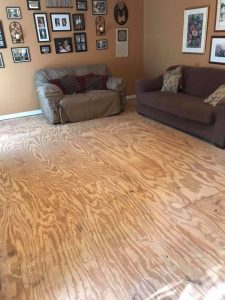
Behold – our family room subfloor. (Along with the old furniture and wall decor)

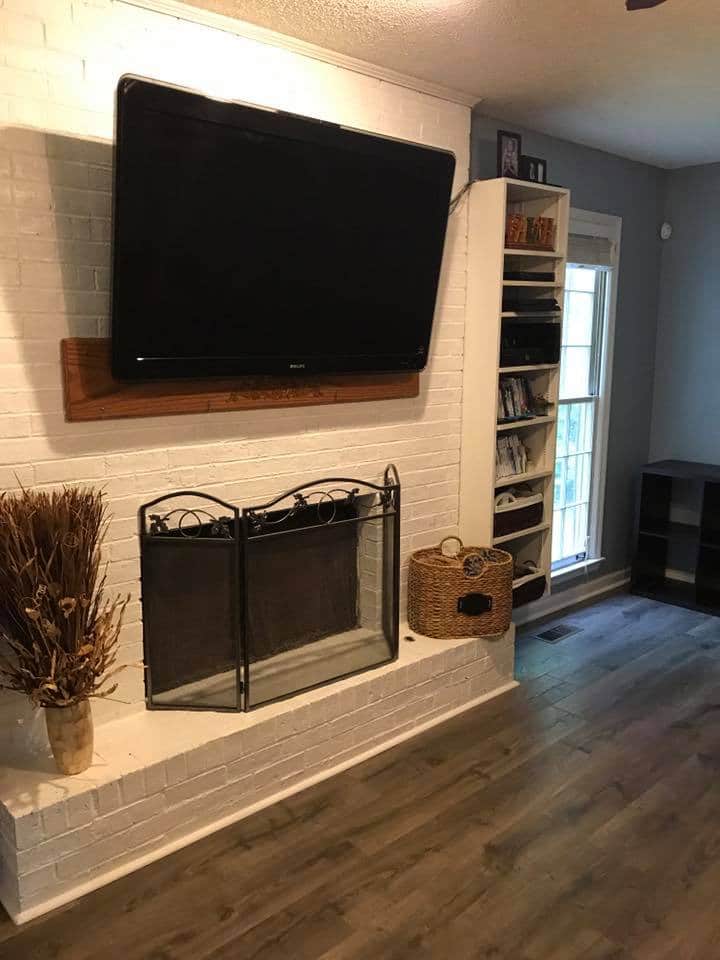
One of my next projects was to paint our fireplace from red brick to white. This project was SOOOOOOO easy, I did it all myself, and I absolutely love how it turned out!
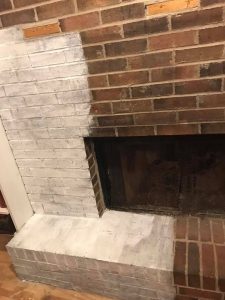
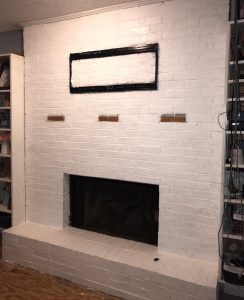
During/Before and After (before we added back the TV)

All I did to paint the fireplace brick was use white latex paint that I cut with water. Some people leave a more distressed look and I really like that too, but for our space I wanted it to more more white and it really brightened up the room and updated the whole look there.
We also repainted almost every wall on the main level. All that didn’t get repainted (yet) is the foyer and the study. I used one color palette and did all the walls colors on the palette. I did a lot of the painting myself during the day and Mickey and the girls helped a ton with touch ups too. Also, the biggest change was that we finally got our Pergo floors put in and we LOVE them!
Here you can see some of the flooring and see the fireplace coming together.
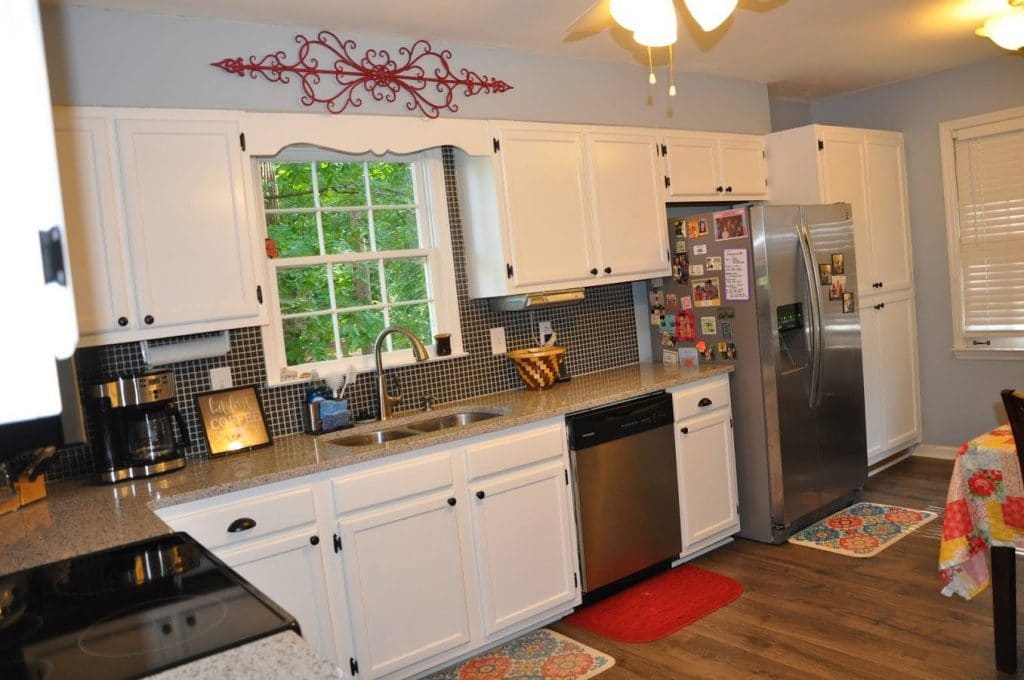
Our next project was the kitchen. We had our builders grade counter tops and our faux finished back splash taken out and had quartz counters and a glass tile back splash installed. We also got a new under-mount sink and a new faucet in the process.
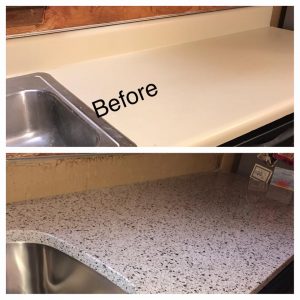
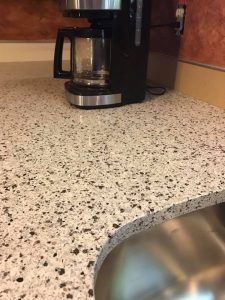
This is a look at our counter tops. They went in a week or two before the back splash. Oh, we just LOVE them! The quartz is awesome!!

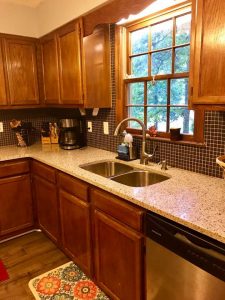
The back splash install took a long time, but the guy that did it was just the best. He was so detailed and the end result was fantastic!
(Note: the cabinets come later…)
I cannot even put into words how HAPPY it made me to start getting our kitchen updated, y’all. But, with those updates, the cabinets really started to bug me being just plain ole oak, so plans got made to paint those over the summer too, but that had to wait a little bit.
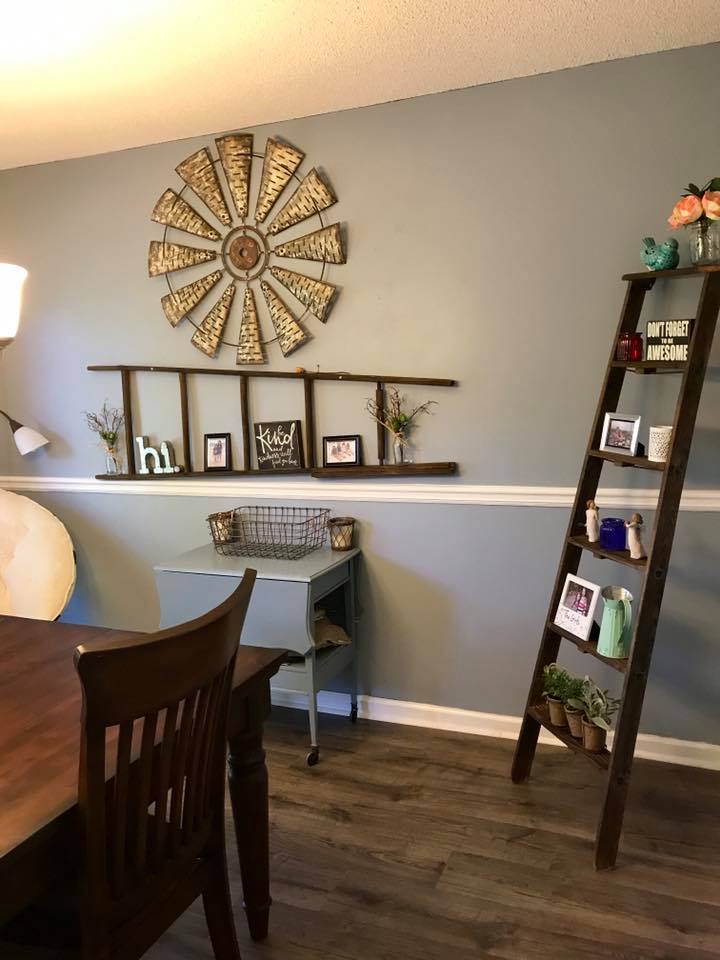
My next project was to update the dining room which we had already re-purposed to mostly be a study area for the girls. I’ve wanted some plain windows for a long time and a friend just so happened to be giving a pair away, so I got those AND an old ladder. Granted, I had ZERO clue what to do with an old ladder, but that’s where Pinterest is your friend, right? I have to say, I still love how this came together!


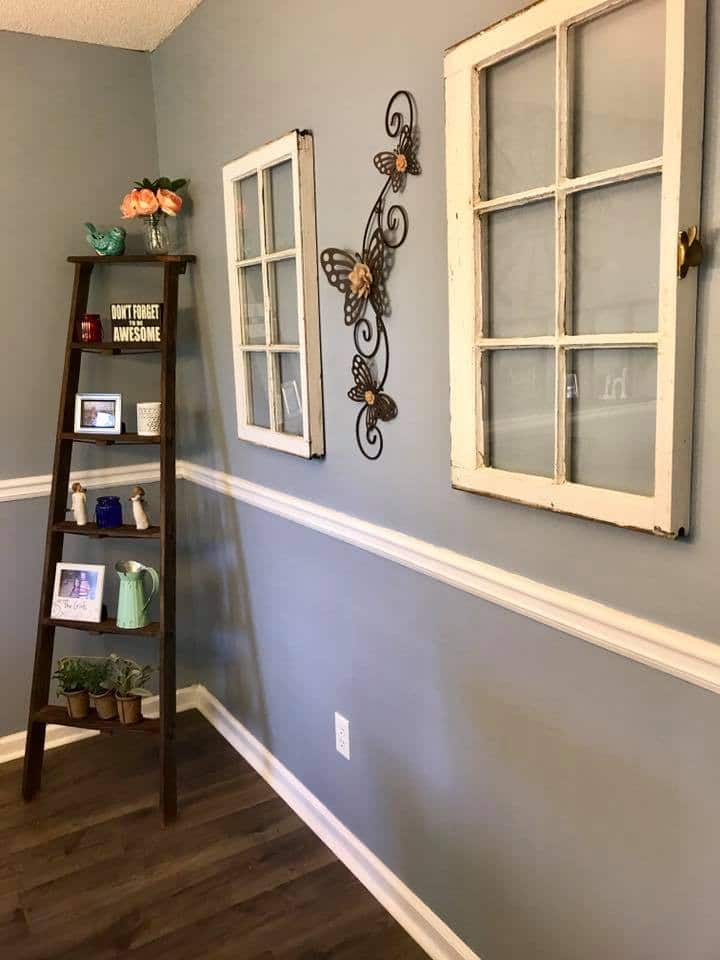
Notice that the old ladder was re-purposed as a wall-hanging AND a corner shelf. So cool, right? And, I love the old windows on the other wall. This room is one of my very favorite places!
Anyone that knows me knows I am a coffee fanatic. So, when I saw this cute sign at Dollar Tree (can y’all believe that?!), I just had to have it!


Heading into July, we only had a few weeks left before school started again, so we had to make great use of our time and had some projects left to finish – such as painting the kitchen cabinets. I’m not even going to act like that wasn’t a J-O-B, friends, but it was so well worth it! I used Rustoleum Cabinet Transformations for the paint process and it was really easy to do. Labor intensive, make no mistake, but it wasn’t difficult in the grand scheme.
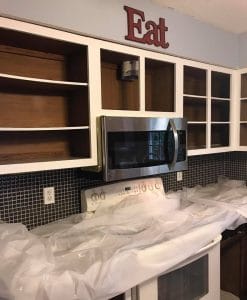
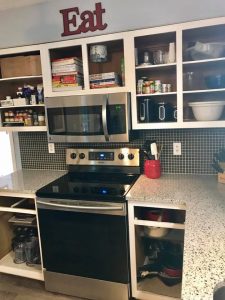
These photos show some of the stages we went through with the kitchen cabinet process.


It looks SO different now and so much better. The room is brighter and updated and just HAPPY! We are so happy with how it turned out! I still have some touch-up painting to do, so someone come MAKE me do that. LOL!
Another DIY project we undertook was doing some updating in our basement. We first painted over a super adorable zoo animals mural that had been on the walls since we moved into our house in 2006. That was bittersweet, but the blue we chose from the main level palette really works in the space! Our next project was laying vinyl plank flooring in our basement. This was a project that basically took Mickey and me most of a day to do ourselves, but we are super proud of the way it turned out. We went from just sub-floor down there after a water issue to having amazing looking basement floors. And, we did it OURSELVES too! I won’t give us an expert level rating, but we make it work. (*wink)

I don’t have updated photos of the basement, but we have since put a futon bunk in there. We are also creating a dance area for Mariana and have the treadmill there, etc. It’s a great hang out space again.
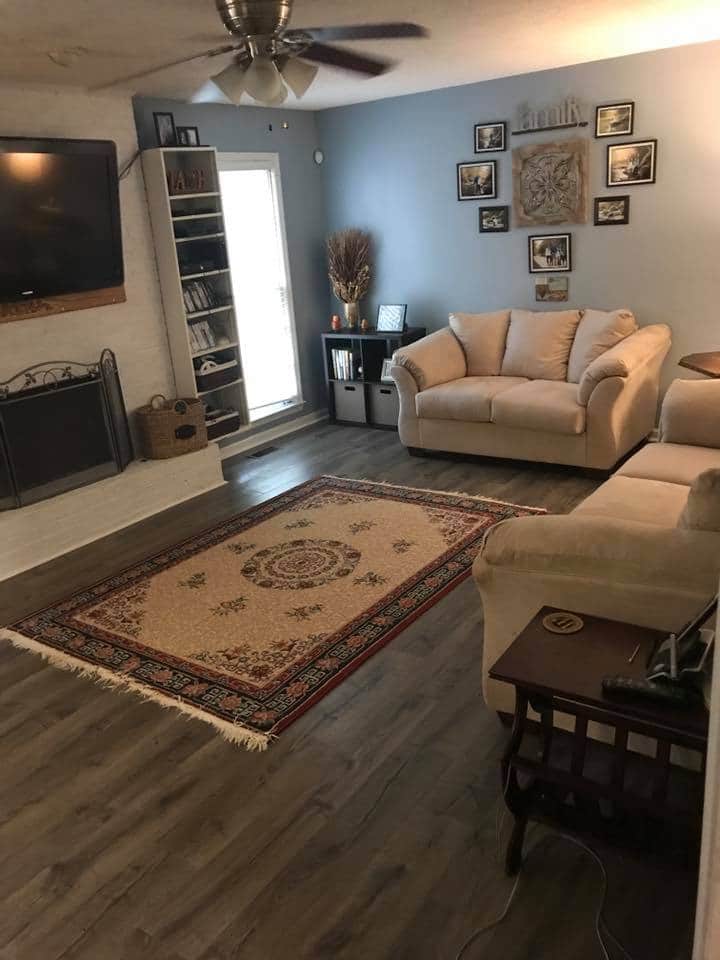
Our updated family room (before it was decorated for autumn)
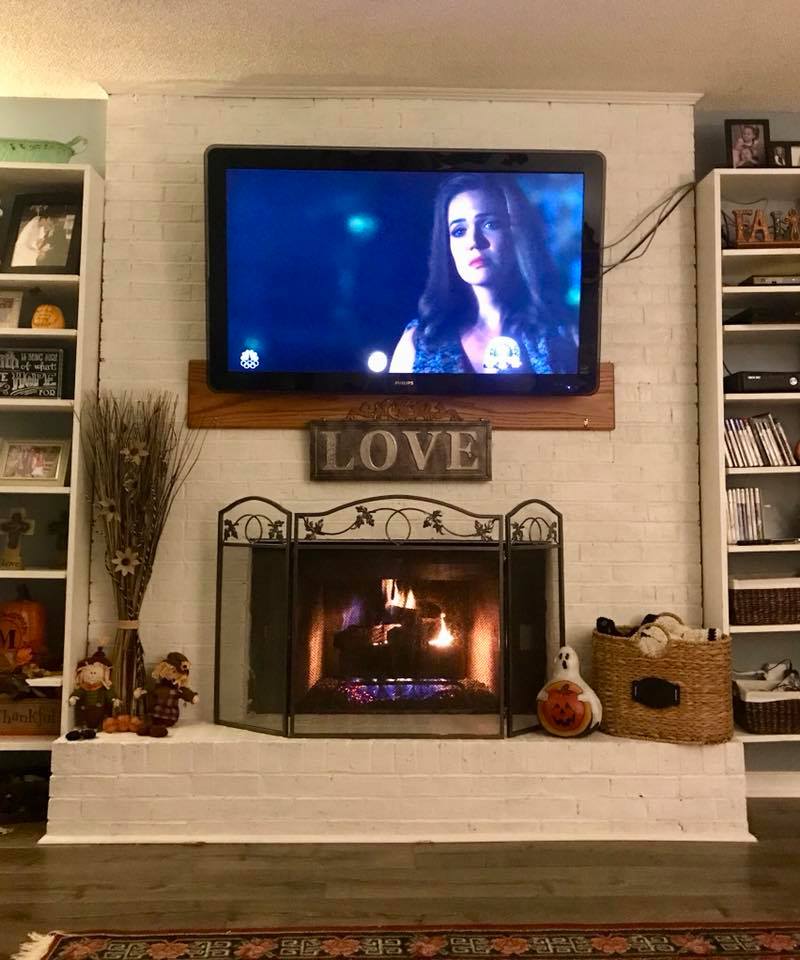
Our updated fireplace with a fire in it and “This is Us” on the tv one morning when I woke up way too early.


Our updated dining room/study room
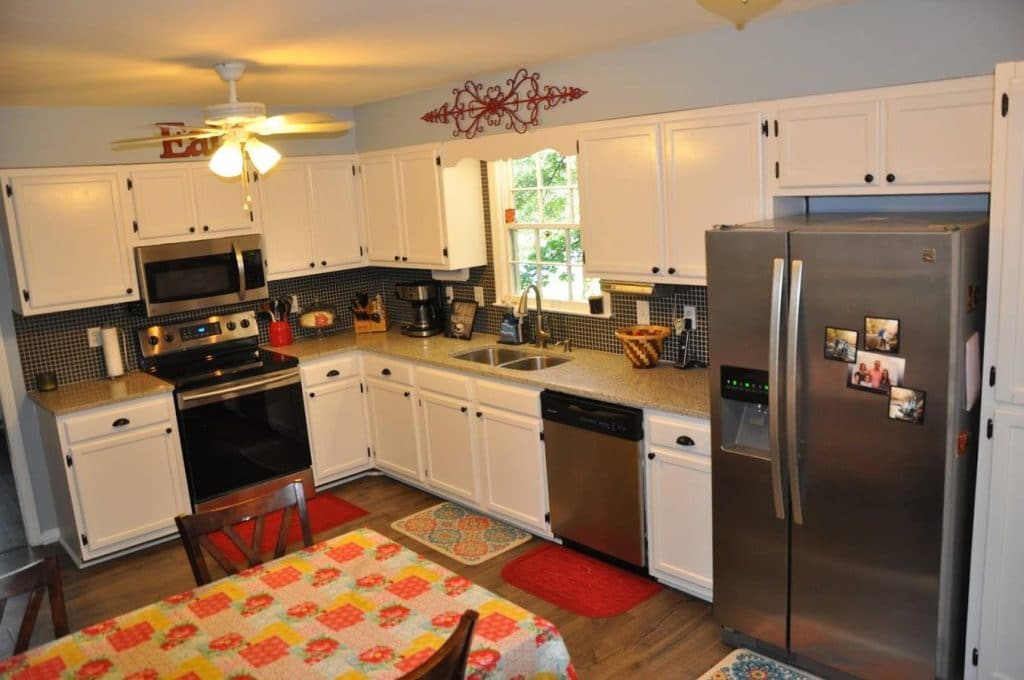
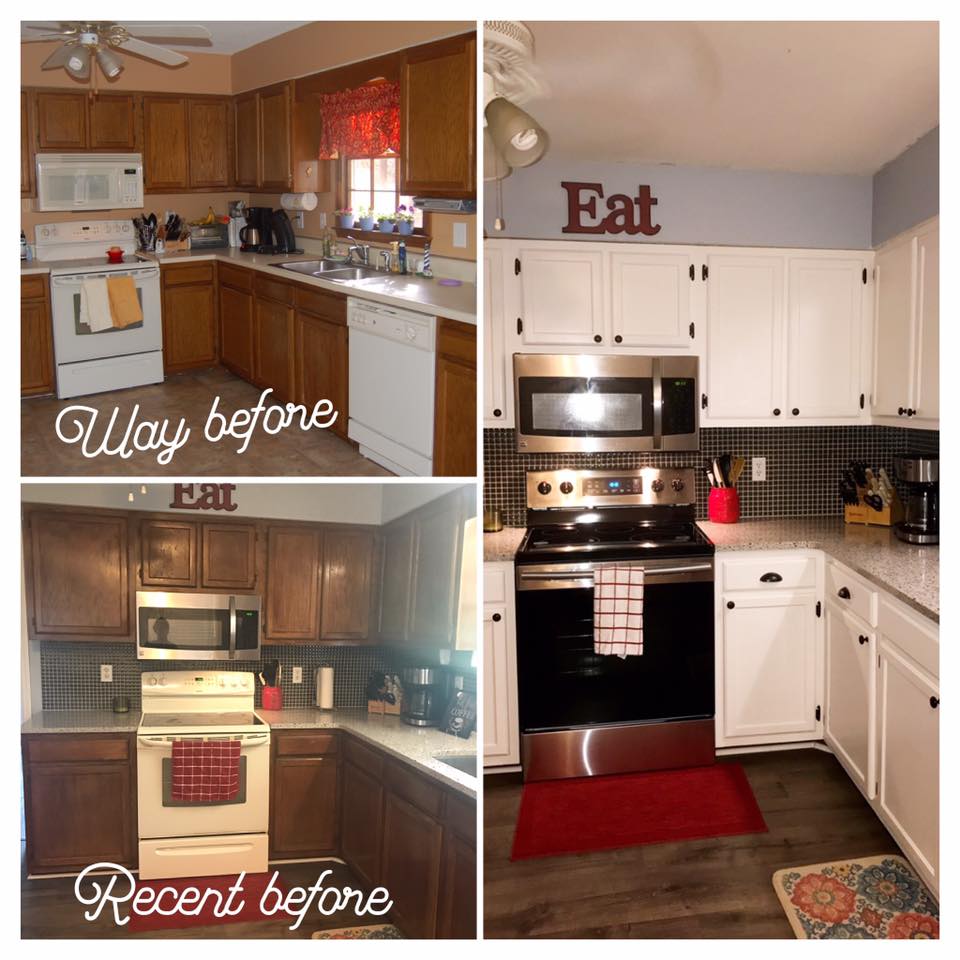
Our updated kitchen
I seriously cannot help but to smile, even still, when I see the progress we made in our house. Of course, there is still much I would like to do, but I’m THRILLED to have this much done. We are over the moon with our renovations.
And, with this post, I may have bored y’all to tears, but I have also successfully dusted off those cobwebs my poor blog was accumulating lately. I’ll try to do better about keeping it updated.
Have an amazing week, y’all…
Kel